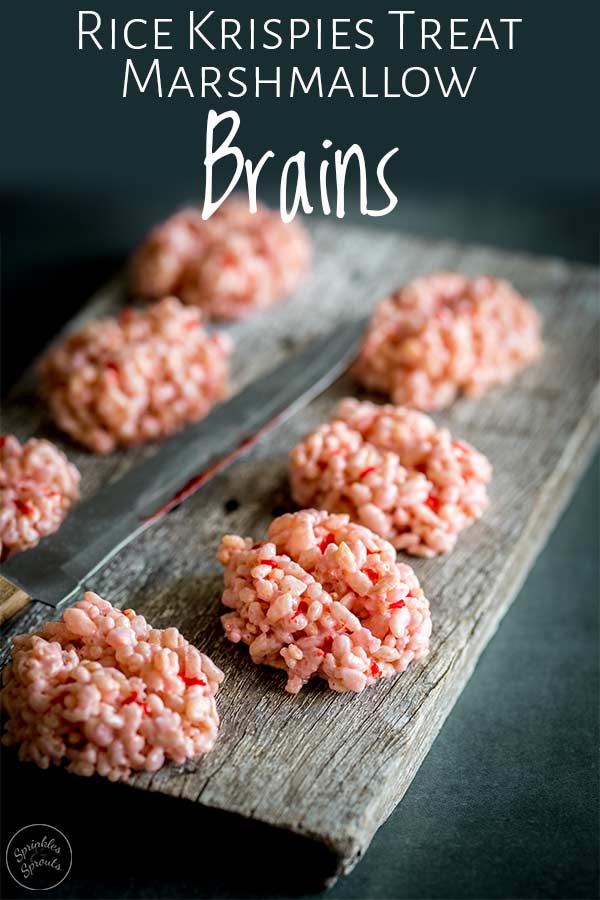
Everybody loves a rice krispies treat and these rice krispie marshmallow brains are a great no bake halloween treat. They are just perfect for kids!
A wonderful mix of gross and scary fun. Serve them up at your halloween parties or wrap them in cellophane and keep them for trick or treaters.
Just don't forget to save one or two for the adults as I have found they love them too!
Aren't these brains perfect for halloween!!! And they couldn't be easier to make! Just 5 ingredients!
- Marshmallows
- Butter
- Salt
- Rice Cereal
- Red Writing Icing
In fact you can leave off the red writing icing, that is just for decoration. I bet you have the rest of it in your pantry right now! Meaning you could be eating brains later tonight!!!
Have you ever eaten real brains? Check out my brain story at the end of this post....it is right at the bottom under the recipe. I hid it incase people didn't want to read it 😉
But for now lets stick with delicious rice krispies treat brains!
Fun fact: Rice Krispies aren't called rice krispies all over the world. Here in Australia they are called rice bubbles. And pretty much every supermarket chain has their own home-brand version with a different name like rice snaps or rice puffs.
But what is the same the world over is the sound they make when you add milk. The Snap, Crackle, Pop. Although all over the world it is translated. I loved this list of onomatopoeic noises so much I just had to share!
- Danish: Pif! Paf! Puf!
- Swedish/Norwegian: Piff! Paff! Puff!
- Swiss: Piff! Paff! Poff!
- South Africa: Knap! Knaetter! Knak!
- German: Knisper! Knasper! Knusper!
- Spanish: Pim! Pam! Pum!
- Finnish: Riks! Raks! Poks!
- French: Cric! Crac! Croc!
- Dutch/Belgium: Pif! Paf! Pof!
- Mexico: Pim! Pum! Pam!
Right now we really do need to talk about these Halloween treats!
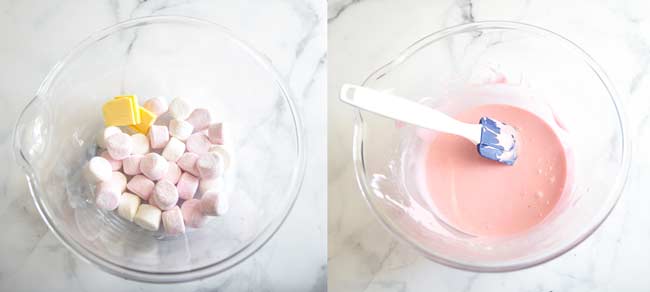
How to melt marshmallows
Whilst you can melt marshmallows in the microwave, my preferred method is to use a bowl over a pan of boiling water. I find this melts the marshmallows more evenly and you have less chance of them scorching and burning.
To do this place the marshmallows and butter into a heatproof bowl and set it over a pan half full of boiling water. Ensure the bottom of the bowl isn't touching the water, and then bring the water back to a simmer. Heat the marshmallow butter mixture this way until the butter has melted, after this stir occasionally until the mixture is completely smooth.
Don't panic, as the marshmallows start to melt the mixture will look awful and like it is never going to come together, just keep heating and stirring occasionally and it will eventually become a smooth paste.
Which marshmallows to use
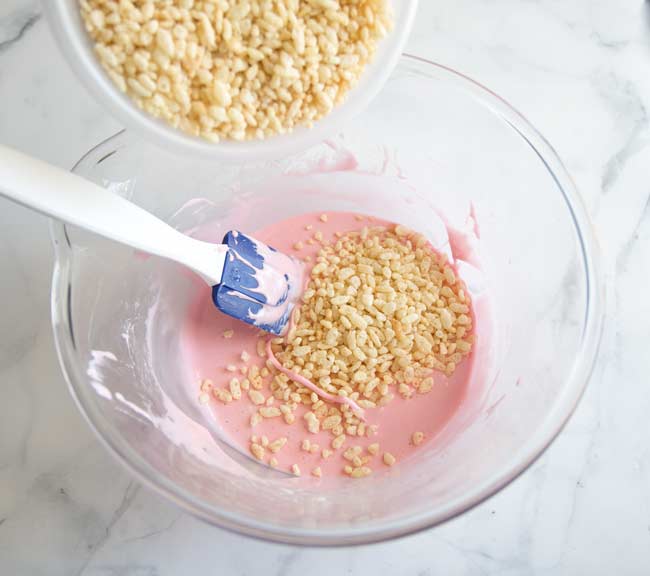
If you use a mixture of pink and white marshmallows the melted mixture will look very pink, but when mixed with the rice krispies it will turn to lighter pink, perfect for brains.
Just writing about brains makes me feel in the halloween mood!
I used standard size marshmallows, to speed up the process you could use mini marshmallows.
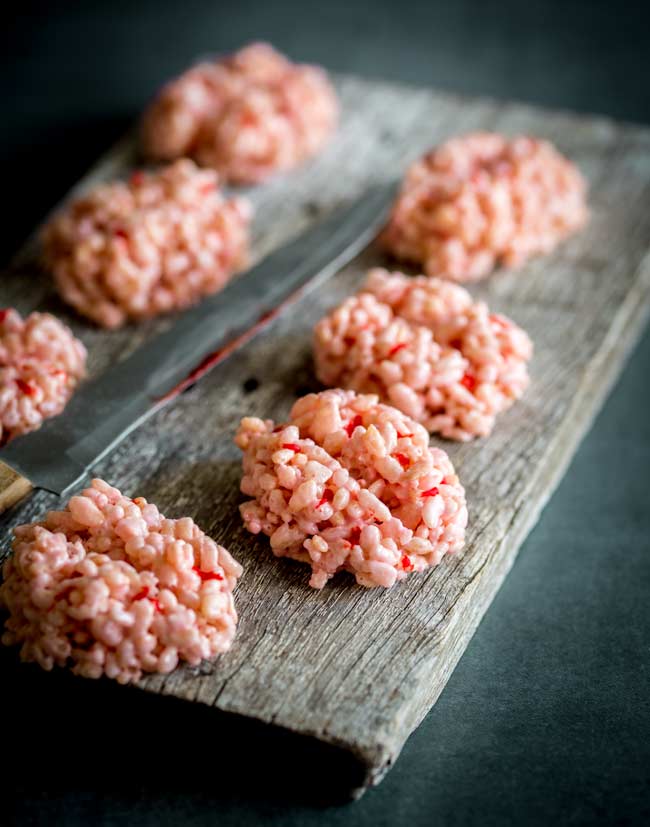
How to form the brains
So lets get down to it...the mixture is sticky. I am talking really sticky. It is easiest to work with whilst it is hot, so keep you bowl of mixture over the pan of water (no need to keep the heat on).
To ensure you don't end up looking like a rice krispie fingered monster keep a small dish of oil next to you when you form the brains. That way you can keep your fingers oiled and reduce the stick.
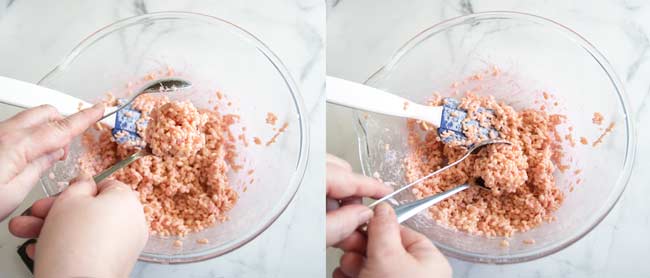
To form the brains I found that using two tablespoons was the easiest way. Oil the spoons (front and the back) then scoop up a blob of the mixture. Use the second spoon to round the blob into a ball and then place it down on the non-stick paper. Lightly oil your fingers and flatten the mound slightly.
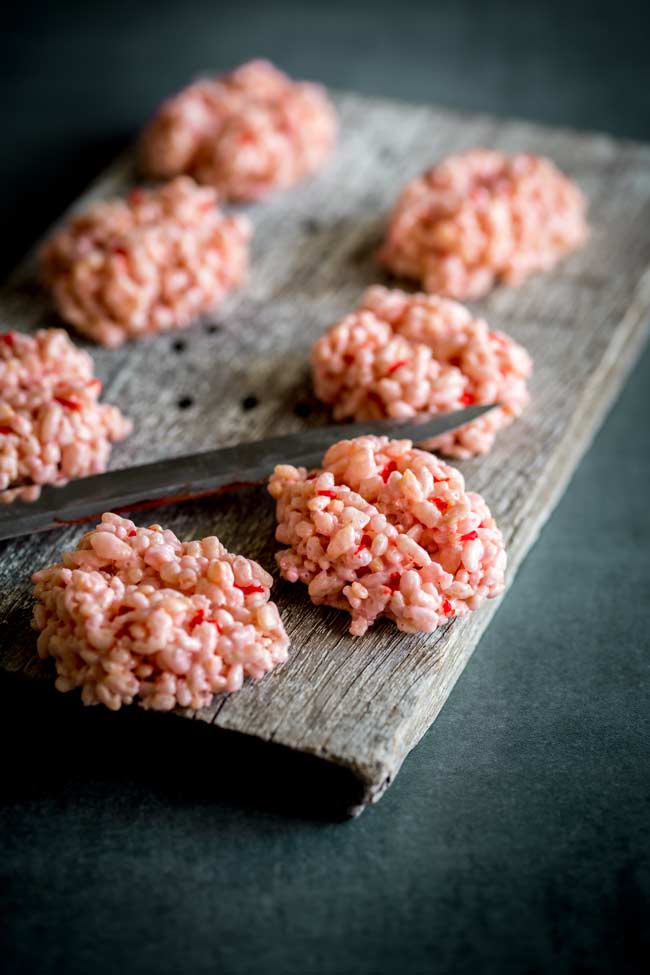
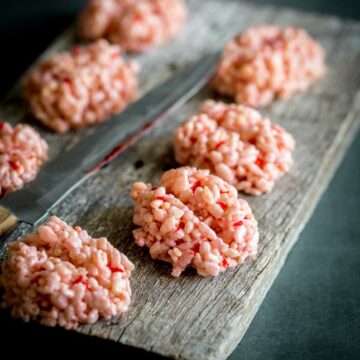
To create the indent between the two hemispheres of the brain, take a table knife and lightly coat it in oil, press it through the centre of your mound, using your fingers to keep the brain shape intact.
If you make 5 mounds with no indents, then go back and create the indent on all five, this gives the brains time to solidified a little and makes the process easier.
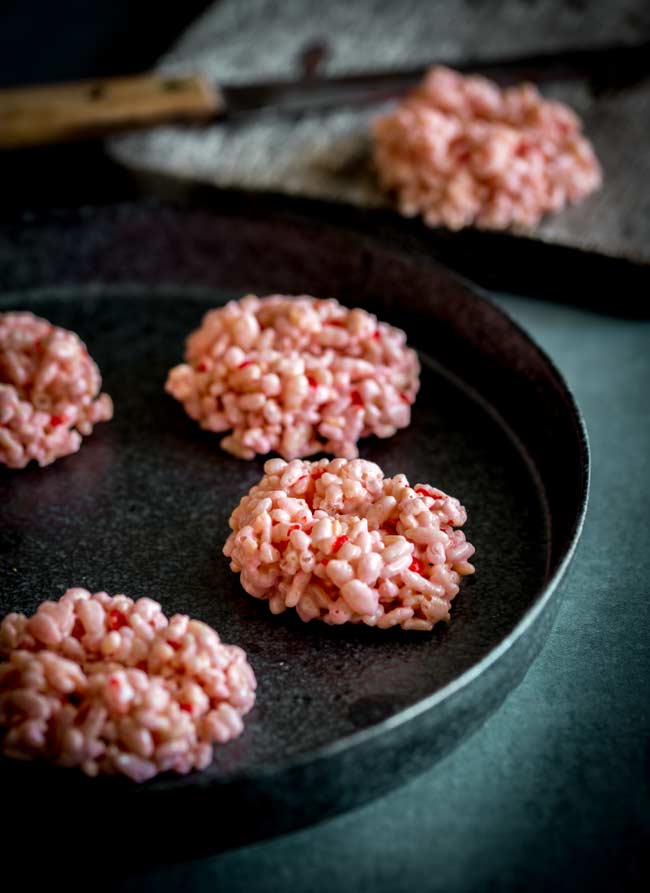
The brains will need several hours to set completely. But they will keep in an airtight container lined with waxed paper for up to 3 days.
So much fun to be had at halloween.
I love creating halloween recipes. Check out some of my favs:
Sweet and Sour Bat Wings | Jack-o-Lantern Jell-O Heads | Haunted Graveyard Cocktail
Enjoy x

If you try these Halloween Brains, please leave a 🌟star rating and let me know how it went in the comments below. I really appreciate it, and it helps others to know that the recipe is trustworthy.
Any questions about the recipe? Use the comments section below.
Get the Recipe
Rice Krispies Treat Marshmallow Brains
Ingredients
- 4 tablespoon butter
- 2 cups pink and white marshmallows - see note 1
- ¼ teaspoon salt
- 4 cups Rice Krispies - see note 2
- 1 tube red writing icing - optional
Instructions
- Line a large tray with non-stick paper
- Place a pan on the stove and half fill with boiling water.
- Put the butter and marshmallows into a heatproof bowl and set it over the boiling water.
- Bring the water back to a simmer.
- Let the butter melt and once it has stir occasionally until the marshmallows are completely melted and smooth (see note 3)
- Add the salt and stir to combine.
- Turn the heat off from under the pan and add the rice krispies to the melted mixture.
- Gently stir until the mixture is well combined. It will seem like this will never come together but eventually it will all be coated.
- Lightly oil two tablespoons (front and back) and use them to scoop and shape a mound, set the mound down onto your prepared tray and with lightly oiled fingers flatten to a rough brain shape.
- Repeat until you have 5 'brains'
- Lightly coat a table knife with oil and use it to press the central indent into your brain. Use your oiled fingers to hold the oval shape together.
- Continue forming 5 brains and then doing the indents until you have used all the mixture.
- Use the red icing to add spots or drizzles of blood to your brains.
- Leave the brains to set for 4-5 hours.
Notes
- Use a mixture of pink and white marshmallows to give your brains a pink color. Standard or mini marshmallows will work fine.
- Any crispy rice cereal is fine
- Don't panic, as the marshmallows start to melt the mixture will look awful and like it is never going to come together, just keep heating and stirring occasionally and it will eventually become a smooth paste.
Nutrition
Nutrition is per serving
My Brains story!
Back when I was a kid we went on a lot of holidays to France. This story takes place one October weekend in the school half term.
After a day of driving south, we find a small hotel, some food, some sleep, some french cartoons, some croissants and back on the road in the morning. We knew the drill, we travelled to the south of France most holidays.
There was something different about this hotel, well more of a motel. It was traditionally french, this wasn't the brightly coloured formula 1's we were used to. It sat by itself at the end of a road, the lights from every window piercing the darkness and inviting people inside.
As kids we were excited, somewhere different, somewhere new and also somewhere that was bound to serve our favourite french burgers made with barely cooked beef. We were adventurous kids. Happy to eat the french food and loving practising our school french. Well my sister did, I just let her talk 😉
But this menu was different, so many things we had never heard of, so many things we couldn't pronounce! So Dad orders for us. I like to tell myself he didn't know.....but I am sure he did!
They arrived, he told us they were meatballs. Smallish mounds covered in a delicious smelling garlic butter. But they did not look like meatballs. My sister and I were convinced they were testicles! We wouldn't touch them. Dad promised (we are talking crossed his heart and hope to die type of promise) that they weren't testicles. So we tried them. We should have delved further, we should have asked more questions!
Imagine biting into a balloon, the skin stretching as your teeth push down, stretching and expanding, like you have a mouthful of elastic bands that is never going to yield. And then suddenly when all hope is gone, the balloon bursts and your mouth is filled with a warm, creamy custard like mixture. Only not like the sweet delicious vanilla crème anglaise you are used to, this is a meaty, meat paste tasting custard.
It was wrong so very wrong. We ate the piece in our mouths and then hid the rest under a lettuce leaf. Not to pretend we had eaten it, just to avoid looking at it as we dipped our bread into the garlic butter.
Sautéed Cervaux. Our Dad had ordered us fried brains!!!! I was 14 or 15 and I have never eaten brains since. I don't know if these were cooked perfectly, or if they should melt in the mouth and we just got chewy ones? I don't know and I don't think I ever want to find out. As someone who loves food and will happily try most things, I can tell you I will never order Cervaux! Not when I could be enjoying other french delights like frogs legs or escargot.
I will say though, the French chef that night did know how to make the most amazing garlic butter!!!
UPDATE: I have been reliably informed by Brian over at Krumpli that brains are quite delicious and shouldn't stretch and burst. I hold his culinary knowledge and cooking in very high regard so next time I see them I will give them another try. Perhaps the chef was having a bad day, perhaps my brains came from an over thinking sheep, who knows. But if Brian says they are good them I am willing to take a risk. Plus this was 25 years ago....maybe, just maybe, my tastes have changed!
Sheila Duncan says
Making these for boys football team Halloween party- 8 yr olds. Can’t wait to see their faces!
Helene says
haha loved the story! My husband ordered a scramble in Dubai once, ate it all and enjoyed the meal when he learned that it was scrambled goat brains. =D
Claire McEwen says
Oh no!! Your poor husband! Well at least he enjoyed them. I am happy to try new foods, but my brain just says no to the yicky bits 😉
Jillian says
I just made these with my kids and they LOVED how creepy they were!
Claire McEwen says
Oh yeah 😀
So happy the kids loved them!
Shadi Hasanzadenemati says
OMG so cute! These little brains are perfect for Halloween parties!
Claire McEwen says
Thank you Shadi, they are just creepy enough aren't they!